When you love what you have, you have everything you need.


Monday, October 29, 2012

Humpty Dumpty Homeschool Theme

Normally on Mondays, Aubrey goes to Gama's school for the day.  That way she doesn't have to sit in Lena's therapy for over an hour and a half!  Well, she couldn't go to school today, so we had an extra day of homeschooling!!!  I planned an extra special day of activities with a theme of Humpty Dumpty!  I know how important nursery rhymes are to beginning reading and phonemic awareness, so I have been trying to teach them to Aubrey lately.  She is loving them and LOVES rhyming, so teaching her has been easy.  


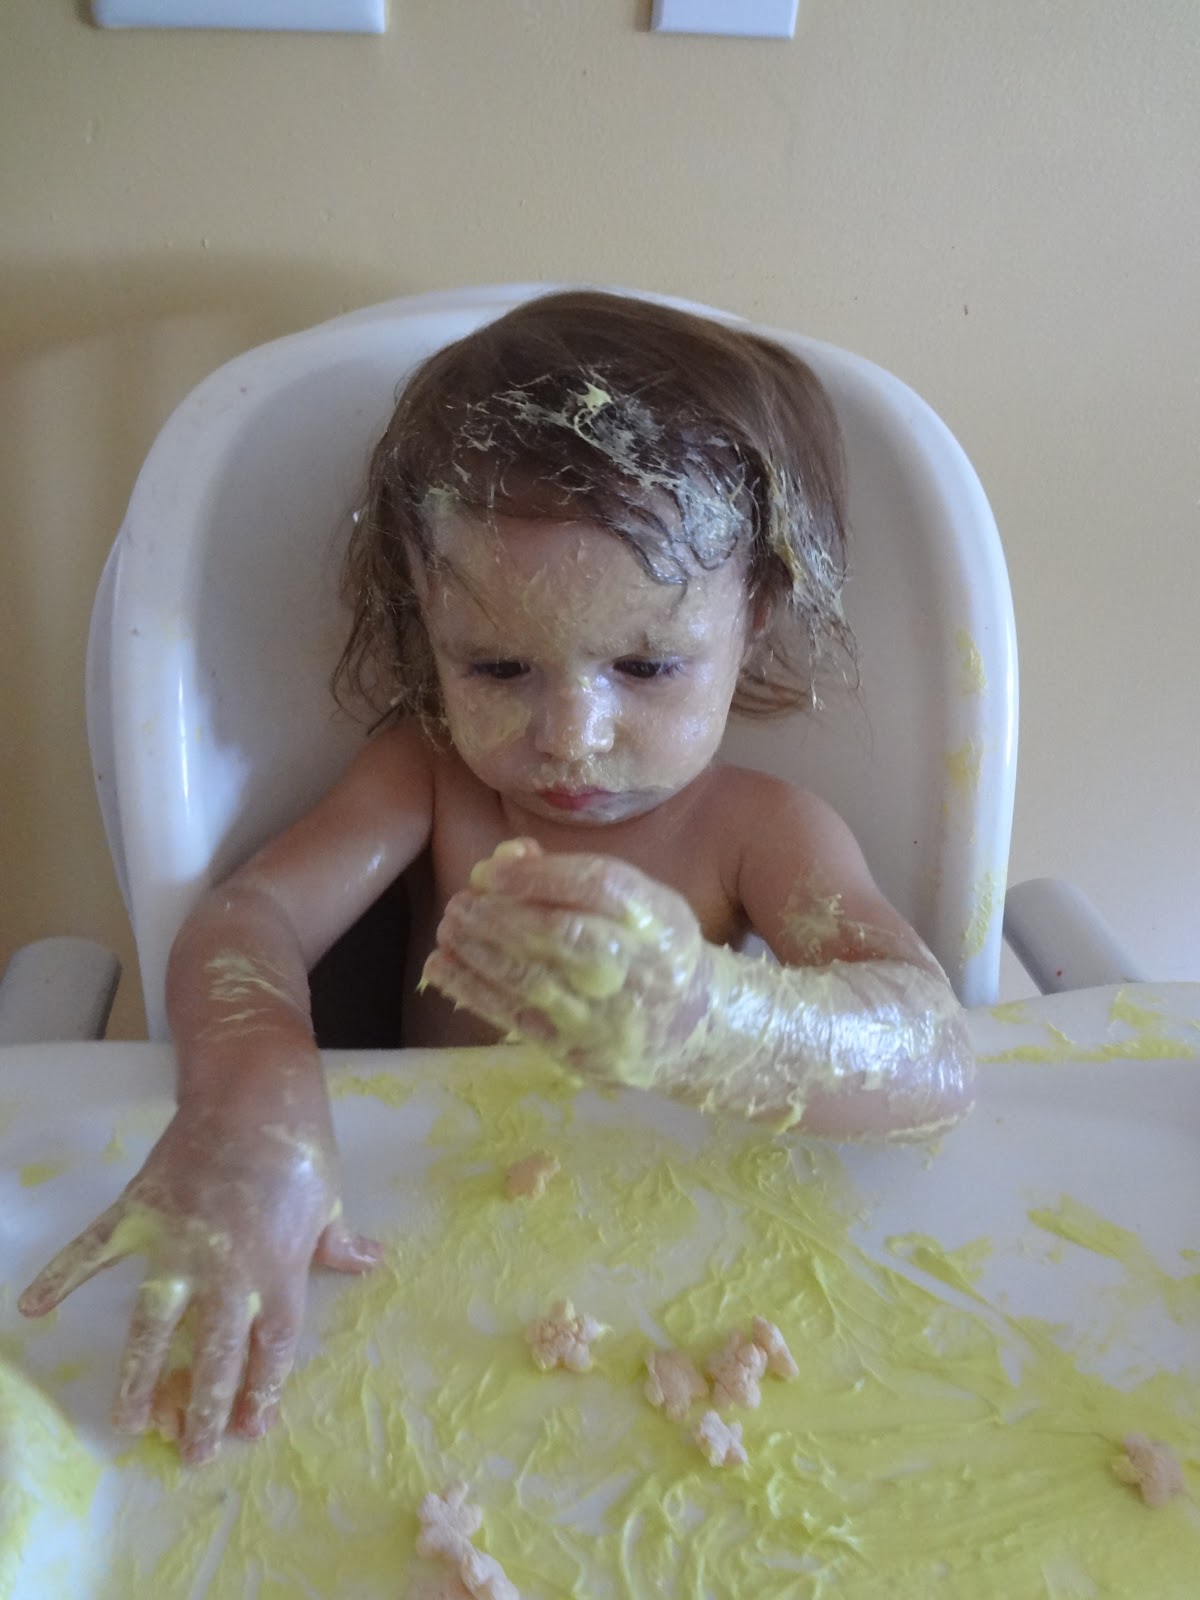
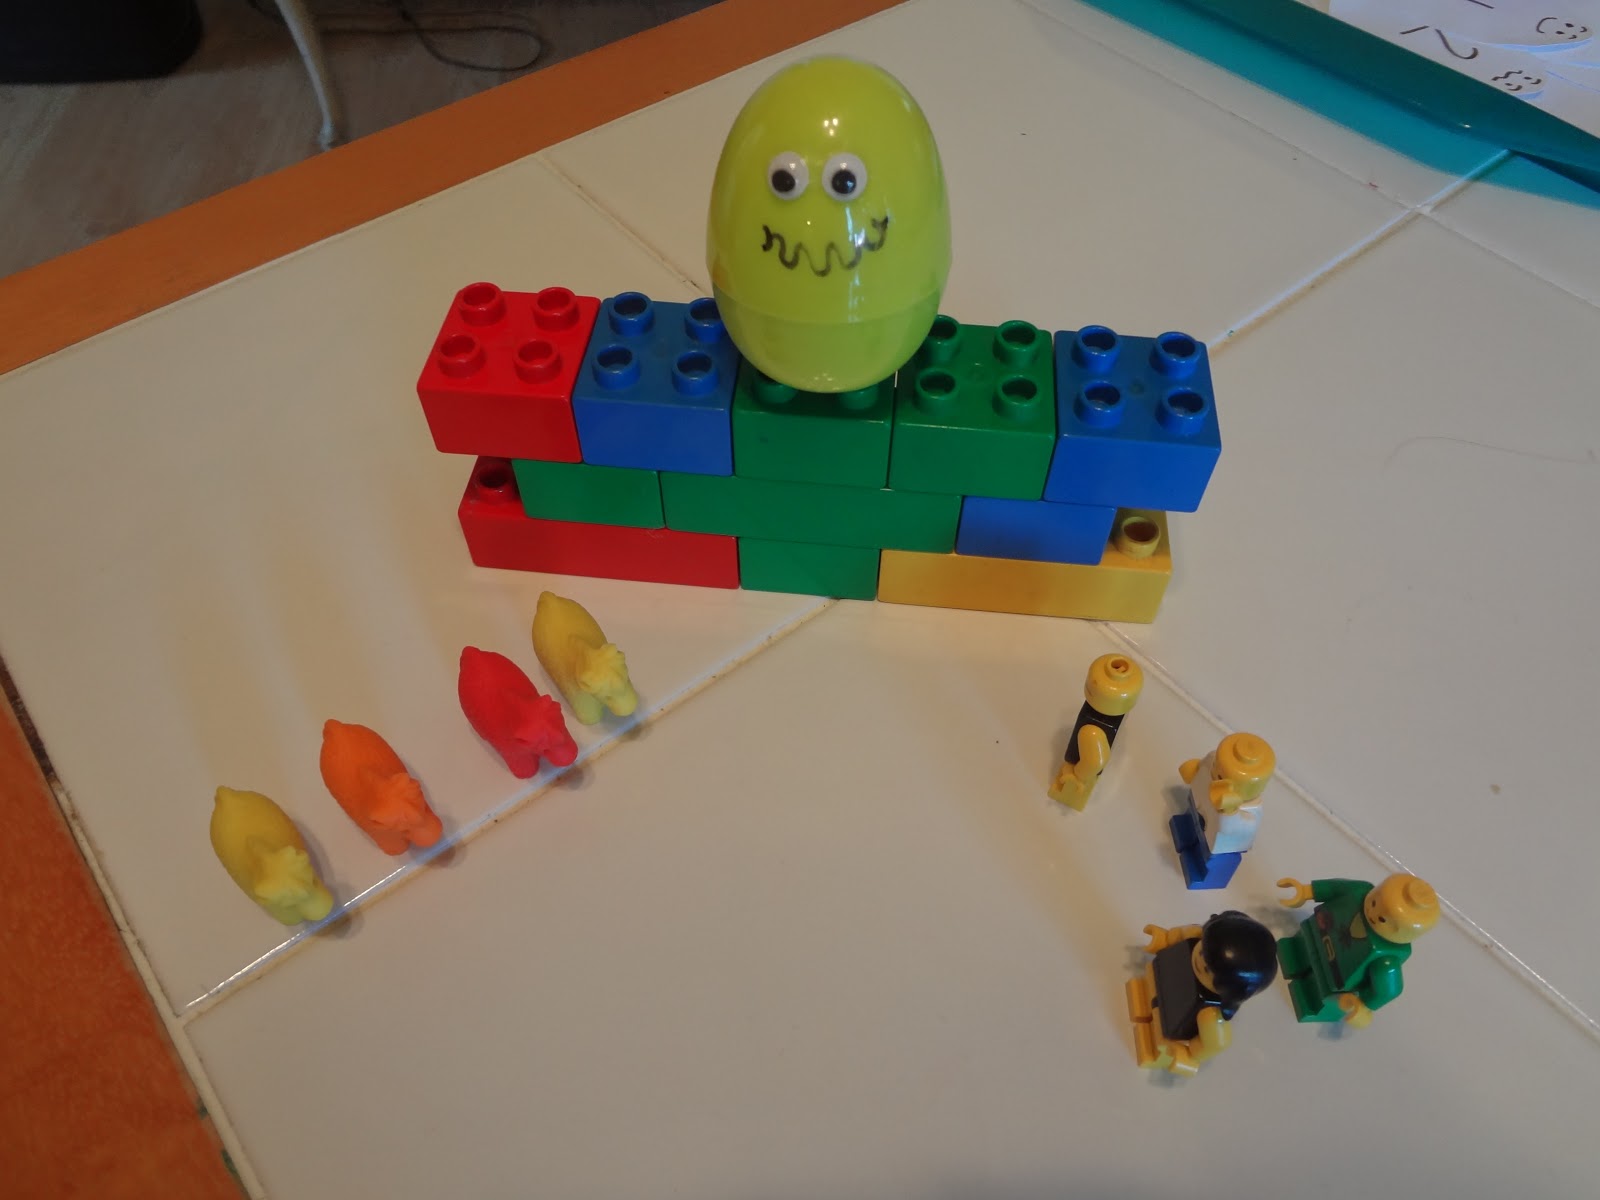
1.  Humpty Dumpty Creative Play:  I supplied Aubrey with Duplo blocks, Humpty made from an easter egg, Lego men, and horse manipulatives.  Aubrey built the wall and put Humpty on top.  Then she recited the rhyme and knocked Humpty off!  She thought it was fun that he could actually crack open!!!  She played with this for 30 minutes and asked to have it on a tray the whole week!  I'd say that it was successful.


2.  Fixing Humpty Math:  I supplied egg cut outs with faces on and numbered them 1-16.  Aubrey picked an egg and identified the number.  She then had to draw that number of cracks on Humpty.  Then she had to put a Band-aide (sticker) onto each crack to fix Humpty.  After she did them all, I had her put them in numerical order.


3.  Humpty Dumpty Booklet:  I supplied 4 large notecards with a nursery rhyme verse on each card.  We read the card together.  Then Aubrey circled each word of the verse.  She then drew a picture of the verse.  When she was all done, I punched a hole in the sides and bound them together with a pipecleaner. 

4.  Humpty Before and After:  On one side of the paper, Aubrey created Humpty on top of the wall!  On the other side, she made sure he was cracked!

5.  Sequencing Humpty Dumpty:  As we said the nursery rhyme, Aubrey had fun putting these cards in the correct order.  
I had made these Humpty Dumpty sequencing cards from pictures I found just searching "humpty dumpty clipart".  I do not know the original source.

6.  Science:  We concluded the unit on Living vs. Non-Living things today.  Aubrey sorted theme cards and created a poster with them.  

Thank you for joining me today!!!!  Halloween is in a couple days.  Come back to see the girls in their homemade costumes!!!  Aubrey is going to be a "sparkly owl"  and Lena is a panda bear!

Today I am linking with:
Motivate Me Monday
Montessori Monday
Hip Homeschool Hop
Tip Toe Tuesday
Show and Tell


Saturday, October 13, 2012

Keeping Baby Busy-Messy Play

When I taught preschool, I loved art!  Most teachers hated the mess, I looked for more ways to get messy!


Messy=Fun=Happy Kids

Not only do children love messy play, they need it.  It is a sensory experience that we should all be able to bring into our home.  It usually doesn't require much money and is easier to clean up than you think!

Our messy play examples:

Painting, of course.  She isn't ready to use those paintbrushes, but she liked experimenting with them.

Food is the best for messy play with baby; you never have to worry about those hands going in the mouth.

Lena was unsure about the Jello.

Scrambled eggs and a spoon kept her busy for awhile!

Colored Frosting!  Yummy and Fun!

This one required a bath afterwards!!!  WOW!

Bath time!  Let them play!  I usually sit next to the tub and read (two birds, one stone!)

Other things we have done:

Colored Ice
Pudding
Yogurt
Cornstarch and Baby Powder
Play-doh
Dirt
Leaves
Any water play

Most of all, don't be afraid to get messy too!

Today I am linking with:
Show and Tell Saturday @
Weekly Wrap Up @
Strut Your Stuff Saturdays @


Thursday, October 11, 2012

Alphabet Magnets Tutorial

These magnets were really simple and cheap to make!  Aubrey watched me as I made them, and couldn't wait for them to dry.  I like that they are functional and cute enough that i don't mind them being on the fridge for extended periods of time (unlike cheap plastic letter magnets).


What You Need:
Scrapbook Paper-already had
Large Flat-Sided Marbles-dollar store $2
Mod-Podge-already had
Magnets-dollar store $1
Letter Stickers-Joanns w/coupon $2
Paintbrush-already had
Super glue-already had

1.  Trace the marbles on scrap paper and cut out.  Place a sticker in the middle of each circle.

2. Spread Mod-Podge on the marble and stick the paper with the letter facing the marble.  Then Mod-Podge over the back of the paper and marble.  Place marble front side down on wax paper to dry.

4.  Super glue a magnet onto the back.  Let dry.

5. Have fun playing with the magnets.  Aubrey loves making "words" with them on the metal pizza tray (dollar store find!)

Thanks to having way too many crafting things already, I was able to make this for only $5!  The only thing I would have done differently was that I would have used either solid paper/pattern letters OR pattern paper/solid letters.  Some of the letters can be hard for Aubrey to read because they are busy looking.
 Happy Crafting!!!!

Today I am linking with:
Friday Fun Party @ 
Inspire Me Fridays @
Frugal Friday @
Feature Friday Linky Party@
Frugalicious Friday@
Fabulously Creative Friday@
Show and Tell Friday @
Fabulous Friday @
Fridays Unfolded @

I know it's a lot, but I have been looking at so many others blogs and have really felt inspired lately with crafts, homekeeping, and homeschooling!!!  I hope you can find something that interests and inspires you too!